Installation Guide
The following is a quick step-by-step guide to install the Nuclivision Gateway.
Steps
Pre-install checklist
- You should already have a designated Device ID that the Gateway will use to authenticate your facility. If not, please contact your Nuclivision support.
- Ensure that the technical requirements and networking requirements described here are met.
- Verify that the Windows user account you're using is an administrator account on the local machine (not a domain user). The installation of the PostgreSQL service may fail otherwise.
- Create a system restore point before install if there is any doubt regarding conflicts caused by the prerequisite installations (Microsoft Visual C++ 2015-2022, PostgreSQL 12)
- If anti-virus is installed, it is a good idea to temporarily disable it before the install.
1. Download the Nuclivision Gateway Installer
You will receive this from your Nuclivision support.
2. Make sure you have the Microsoft Visual C++ 2015-2022 redistribution installed
Navigate to: https://learn.microsoft.com/en-us/cpp/windows/latest-supported-vc-redist?view=msvc-170 and download the official Microsoft Visual C++ redistribution for your system.
3. Run the installer
Run the installer by double clicking the file.
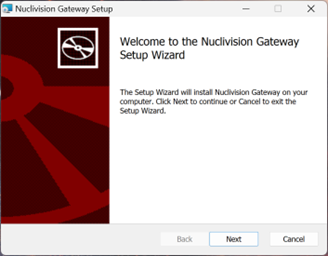
Click "Next" to proceed to the Device ID registration. Please make sure you enter the ID correctly (case sensitive).
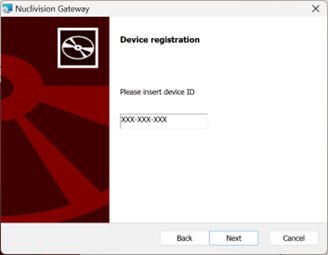
Click "Next" to proceed to the License Agreement.
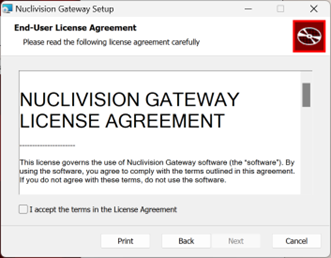
Read and agree to the license agreement, then click "Next". This will bring you to the Destination Folder settings.
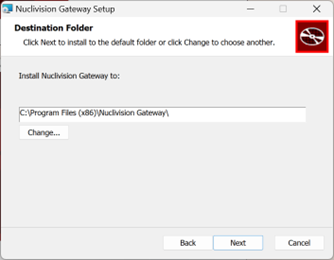
Click “Next” to proceed and click “Install” to begin the installation with administrator privileges.
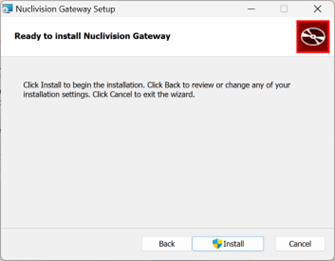
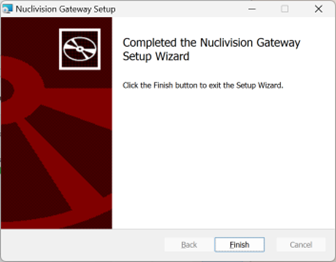
Wait for the installation to complete and click “Finish”.
4. Set up Antivirus Exclusions
To optimize Gateway performance, and prevent conflicts with antivirus processes, please exclude the install directory (C:\Program Files (x86)\Nuclivision Gateway) from anti-virus scanning.
The Gateway will generally function normally even if this is not done, however, there is a potential for occasional transmission delays or errors related to anti-virus scanning, and it is recommended that this step be done.
5. Set up Firewall whitelists
Make sure that the Gateway can communicate with the Nuclivision Cloud:
*.nuclivision.com- Our Amazon S3 bucket URLs, which will be communicated via mail
And that the DICOM communication with your infrastructure is allowed (ports are configurable, see step 7):
- Nuclivision Gateway SCP (default: listens on port 104)
- Nuclivision Gateway SCU (default: send to port 11112)
6. Verify services
The installer should have registered three services (the gateway, a database, and a configuration UI) that start automatically when the computer boots. You can verify their successful deployment at Windows Services:

If one of these isn’t running, you could try restarting it and contact your Nuclivision support.
7. Configure your PACS and/or modalities to transmit to the Gateway PC
Configure the Gateway PC as a DICOM destination in your PACS and/or on your modalities. The host name or address for transmission will be the static IP address assigned to the gateway, and the default port for transmission is 104. We recommend sending uncompressed (ILE or ELE). To configure these ports and the Application Entity Titles (AET), please refer to the Configuration Guide.